The best Tokyo SIM card for tourists in 2026 comes down to three real choices: a prepaid physical SIM, an eSIM you install before you fly, or a pocket WiFi router you carry. For most solo travelers an eSIM wins on price and convenience; families and groups usually save with one pocket WiFi. Here is exactly how to pick, where to buy, and what you will pay.
I have landed at both Narita and Haneda enough times to have made every mistake here — paying double at an airport counter, fighting a dead session timer at a Shibuya cafe, and once spending my first hour in Tokyo completely offline because I assumed “Japan has great WiFi everywhere.” It does not, not the way you think. This guide walks through all three connectivity options with current 2026 prices, the airport pickup desks at Narita and Haneda, the big electronics stores like Bic Camera and Yodobashi, the carrier networks behind each plan, and the small setup steps that trip people up. By the end you will know precisely what to order and where.
Why you absolutely need your own data in Tokyo
Tokyo runs on apps. You navigate its 13 subway lines and 285-plus stations with Google Maps, you read restaurant menus with Google Translate’s camera mode, you find the right exit out of Shinjuku Station (there are over 200), and you pay for more and more things by scanning a QR code. Every one of those needs a live connection — Translate’s camera and Maps’ live rerouting in particular do not work offline. Without data, the world’s most navigable city becomes genuinely disorienting.
A reliable connection from the moment you clear customs removes most of the friction from your first day, which is exactly when you have the least bearings. Getting from the airport to your hotel, decoding a check-in form at a small ryokan, working out which of seven platforms your train leaves from — all of it happens before you have settled in. For the bigger picture of how this fits your trip, our Tokyo travel planning guide covers the full pre-departure checklist, and the Tokyo transportation guide explains the navigation apps you’ll be leaning on data to run.
SIM card vs eSIM vs pocket WiFi: the comparison
Here is the honest at-a-glance version. The numbers are 2026 typical prices for a one-week Tokyo trip; I break each option down in detail below. Exchange rate used throughout is roughly ¥150 = US$1 (mid-2026).
| Option | Typical 7-day cost | Setup | Devices | Best for |
|---|---|---|---|---|
| eSIM | ¥1,200–¥3,500 (about US$8–$23) per person | Scan a QR code before you fly; activates on landing | One phone (must be unlocked & eSIM-capable) | Solo travelers and couples with newer phones |
| Physical SIM | ¥2,000–¥4,500 (about US$13–$30) per person | Swap the SIM, set the APN; buy at airport or store | One phone (must be unlocked) | Older phones with no eSIM; people who want a card in hand |
| Pocket WiFi | ¥4,000–¥9,000 (about US$27–$60) total for the group | Pick up at airport or hotel; everyone joins one password | Up to 5–15 devices at once | Families, groups, multiple-device travelers, locked phones |
The single most useful rule: the breakeven is around three people. Travelling solo or as a couple, an eSIM is lighter and usually cheaper. Once three or more of you are sharing — or someone has a tablet, a laptop, and a phone all needing data — one pocket WiFi router split between you almost always wins.
Option 1: the eSIM (the default for most travelers in 2026)
An eSIM is a SIM you download instead of slot in. You buy it online, a QR code lands in your inbox within minutes, you scan it, and a Japanese data plan sits alongside your home number on the same phone. Nothing to collect at the airport, nothing to return, nothing to lose. If your phone supports it, this is the option I reach for first.
What it costs in 2026
eSIM pricing has dropped sharply. Entry plans now start around US$3.99 for 1GB, and the realistic sweet spot for a week of normal sightseeing is roughly US$8–$17. Some concrete 2026 examples I’ve verified:
- Saily (runs on NTT Docomo via 1GLOBAL): 1GB/7 days about US$3.99; 5GB/30 days about US$10.99; 3GB/30 days about US$7.99. App-guided setup that walks you through it.
- Airalo “Moshi Moshi” (roams to KDDI au and SoftBank): 1GB/7 days about US$4.50; 20GB/30 days about US$26. Consistently the fastest in independent Tokyo speed tests.
- Ubigi (NTT Docomo; the parent company is owned by NTT): from a single-day 500MB plan around ¥390 up to month-long unlimited; strong, reliable speeds.
- Sakura Mobile eSIM (Japan-based, English support): a 3-day 3GB data-only eSIM runs about ¥2,750, with plans from 1 to 90 days. Pricier than the global apps but with local customer service.
- Mobal: the rare eSIM that includes a real Japanese phone number and voice calls — useful for longer stays (see “keeping a number” below).
How much data do you actually need? Most travelers underestimate it because at home you’re on WiFi most of the day and in Tokyo you won’t be. Budget roughly 500MB–1GB per day for maps, messaging and translation; closer to 10GB for a week if you also scroll social media, tether, or stream on a long Shinkansen ride. If you’re nervous, pick a plan with cheap top-ups rather than over-buying up front.
How to set up an eSIM (step by step)
- Before you buy, confirm your phone is eSIM-capable and carrier-unlocked. Most phones from 2019 onward support eSIM; US iPhone 14, 15 and 16 models are eSIM-only. If your phone came on a carrier contract, it may be locked — ask your provider to unlock it first.
- Buy the plan online (provider website or app) and wait for the QR code email — it usually arrives within 15 minutes.
- On the day you travel, go to Settings: on iPhone, Settings → Mobile/Cellular → Add eSIM/Add Data Plan; on Android, Settings → Network & internet → SIMs → Add eSIM. Scan the QR code.
- Label the new line “Japan,” leave your home line on for calls/texts if you want, and set the Japan eSIM as your data line.
- Turn on Data Roaming for the Japan eSIM (most of these plans technically roam onto a local network, so roaming must be on for that line — it will not trigger home-carrier charges).
- If data doesn’t flow after you land, set the APN manually using the value in your provider’s welcome email, then toggle Airplane mode off and on. First connection can take up to 15 minutes.
A practical tip: install the eSIM at home but set its activation to begin when you arrive (most plans start on first network connection in Japan, not at purchase). That way you walk off the plane already connected.
Option 2: the physical prepaid SIM
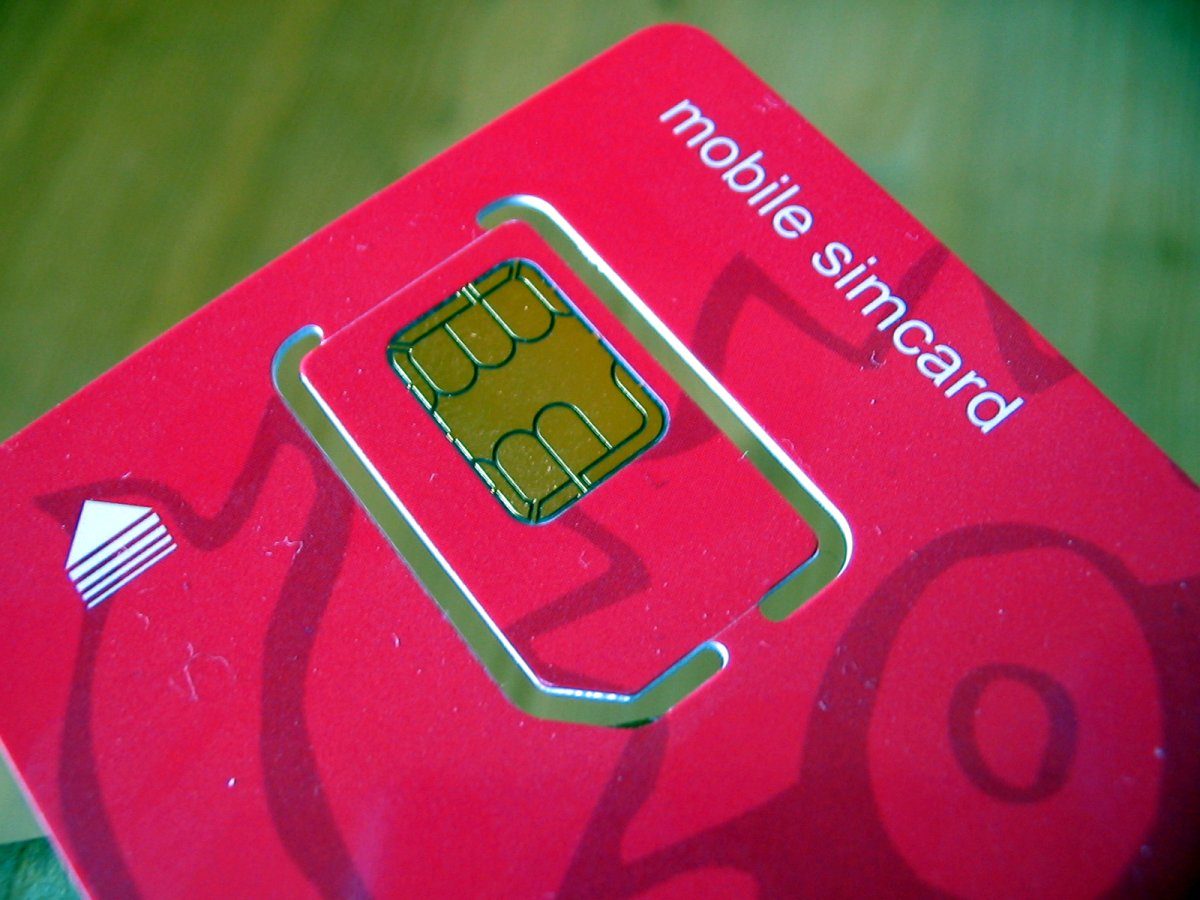
A physical prepaid SIM is the traditional route: a plastic nano-SIM you pop into your phone in place of your home card. It still makes sense if your phone is older and not eSIM-capable, or if you simply want a tangible card and a counter you can ask questions at. The trade-offs: you have to physically swap cards (and not lose your home SIM), and on recent trips airport SIMs have run roughly twice the price of an equivalent online eSIM.
Most tourist SIMs are data-only — no phone number, no regular voice calls. That’s fine for almost everything, since WhatsApp, LINE, Messenger and FaceTime all run over data. The well-known names are Sakura Mobile (foreigner-focused, all-English support, unlimited data plans priced per day on the NTT Docomo network), Mobal (includes a Japanese number, SoftBank network), IIJmio (widely stocked in electronics stores), and b-mobile (reliable on Docomo). Typical airport pricing starts around ¥2,000 for about a week of data and climbs with the allowance.
Setting the APN on a physical SIM
Insert the SIM, restart the phone, then add the carrier’s APN profile if data doesn’t start on its own. The card’s leaflet lists the exact APN name, username and password. On iPhone it’s Settings → Mobile Data → Mobile Data Network; on Android it’s Settings → Network & internet → SIMs → Access Point Names. Many Japanese tourist SIMs now auto-configure, but keep that leaflet until you’ve confirmed you’re online.
Where to buy a SIM at Narita and Haneda airports
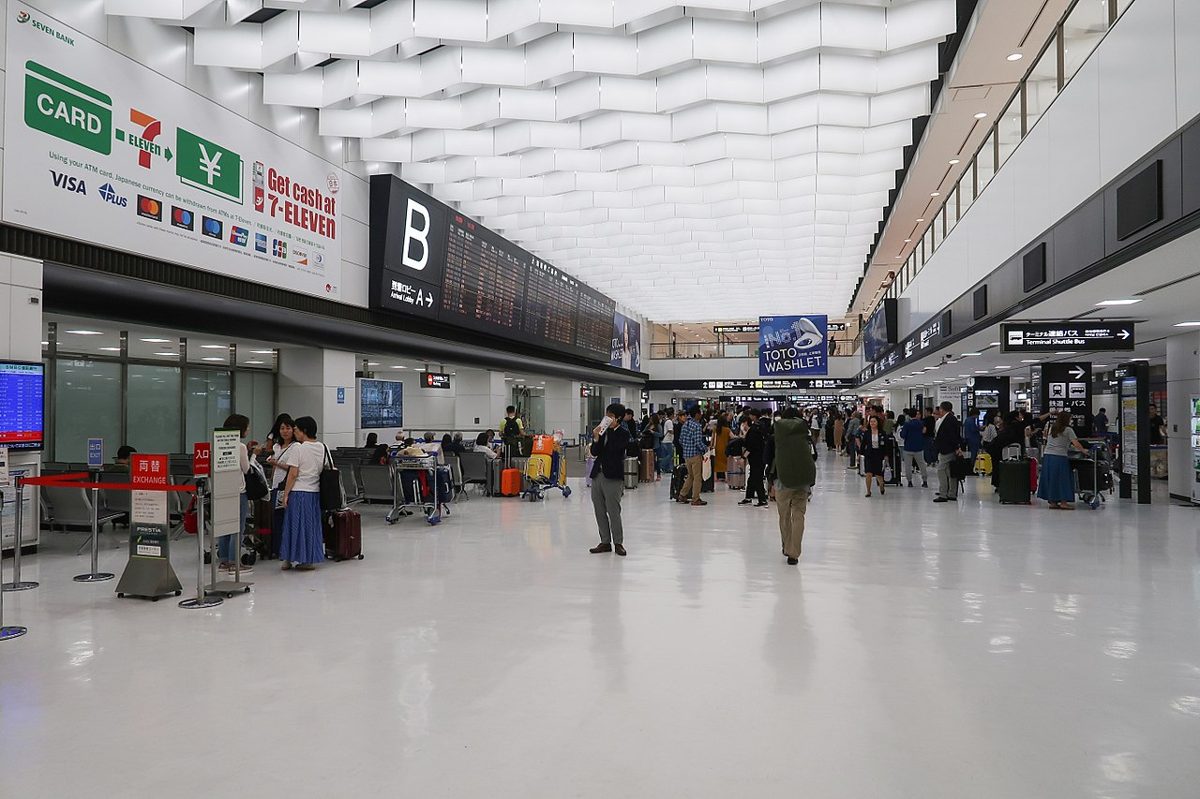
If you land without anything arranged, both airports can get you connected before you reach the train. Just know it costs more than ordering online, and counters keep limited hours — handy to know if your flight to Tokyo lands late at night. Here’s where to look, by airport.
Narita Airport (NRT)
- Air Bic Camera, Terminal 2, 4th floor (before security): a city-style electronics counter with the widest tourist SIM lineup at the airport, including IIJmio — the budget-friendly pick. Open roughly 7:00–22:00.
- JR EAST Travel Center (all three terminals): SIM cards alongside rail tickets and travel help; staff speak English, open about 8:30–19:00.
- SoftBank Global Rental counter (Terminal 1): SIMs and pocket WiFi on the SoftBank network.
- SIM vending machines: available 24/7 in all terminals — your fallback for a 1 a.m. arrival.
- 7-Eleven and Lawson (Terminals 1 and 2): a limited selection of prepaid SIMs if the counters are closed.
Haneda Airport (HND)
- Bic Camera, Terminal 3, arrivals: tourist SIMs and pocket WiFi; open about 7:00–22:00.
- Mobile Center Haneda (Terminals 2 and 3): SIM and WiFi rental desk.
- SoftBank counter (Terminal 2): open roughly 8:00–20:00.
- GLOBAL / NINJA WiFi counter (Terminal 3): pocket WiFi pickup and SIMs.
- J Walker SIM vending machine and 7-Eleven (Terminal 3): both open 24/7 for late arrivals.
Haneda matters more for late flights — it’s closer to central Tokyo and its 24/7 vending options are a genuine safety net. At Narita, if you arrive after the counters shut, use the vending machine or simply wait and buy a cheaper SIM in the city the next morning.
Buying a SIM in the city: Bic Camera, Yodobashi and konbini
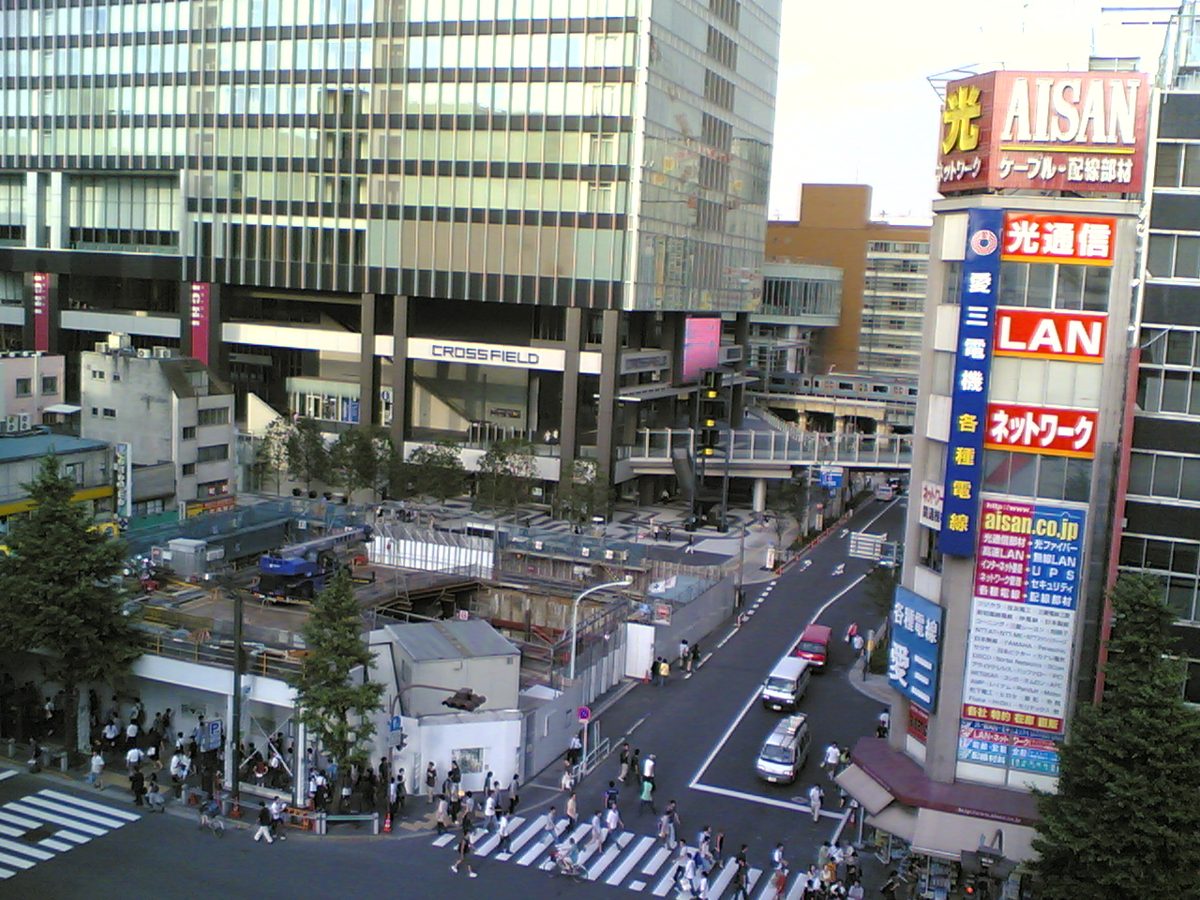
Skip the airport markup and you can get a better price in town — the catch is you’ll spend your first leg offline (download an offline Google Map of Tokyo before you fly to cover that gap). The two giant electronics chains carry the widest range:
- Bic Camera: branches right by Yamanote Line stations, including the Shinjuku West Exit store and the Shibuya Hachiko store. Wide SIM selection and usually an English-speaking staffer at the bigger shops.
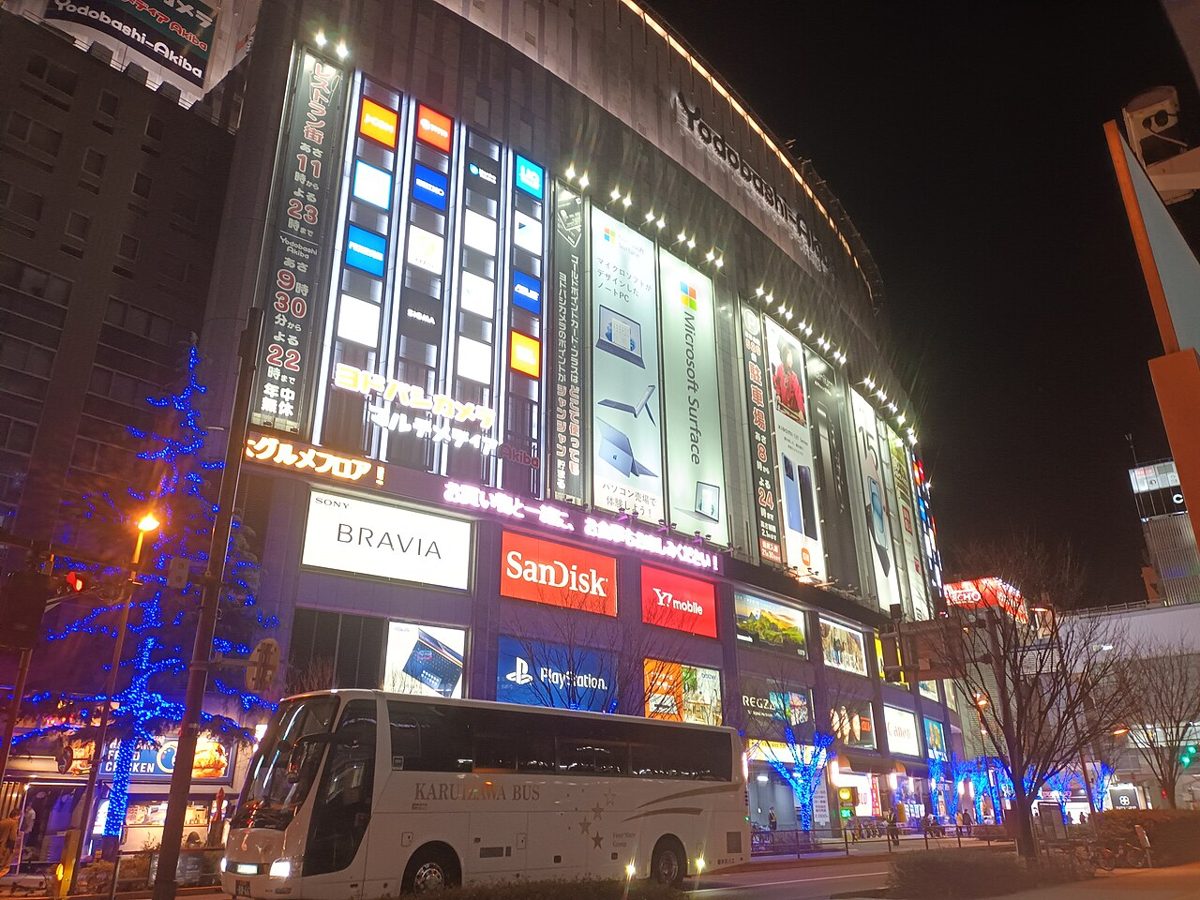
- Yodobashi Camera: the cavernous Multimedia Akiba store in Akihabara and the Shinjuku West main store both stock tourist SIMs (IIJmio, b-mobile and others) on the mobile floor.
- Convenience stores (7-Eleven, FamilyMart, Lawson): they do sell prepaid data SIMs, but the choice is thin and English help is minimal. Fine in a pinch, not ideal for your first SIM in Japan.
One more route worth knowing: order online and pick up. Providers like Sakura Mobile and Mobal let you reserve a SIM before departure and collect it at an airport counter, an electronics store, or have it delivered to your hotel — cheaper than buying cold at the airport and waiting at a desk while jetlagged.
Option 3: pocket WiFi (the group and family winner)
Pocket WiFi — also called a mobile hotspot or just “WiFi router” — is a small battery-powered box that creates your own private network. Everyone in your party connects to one password. It runs on a major cellular network (Docomo, SoftBank or au depending on the provider), so coverage follows you onto trains, into the suburbs, and out to day-trip country where free WiFi simply does not exist.
What pocket WiFi costs in 2026
The headline daily rate you see advertised is almost always the long-rental price; a one-week rental costs more per day. Realistic 2026 totals, verified mid-year:
| Trip length | Typical total (base rental) | Notes |
|---|---|---|
| 3 days | ¥3,000–¥6,000 (about US$20–$40) | Minimum-rental fees bite on short bookings |
| 7 days | ¥4,000–¥9,000 (about US$27–$60) | The most common tourist trip |
| 10 days | ¥6,000–¥12,000 (about US$40–$80) | Daily rate starts dropping |
| 14 days | ¥8,000–¥20,000 (about US$53–$133) | Two-week rate is noticeably better per day |
For example, Japan Wireless quotes about ¥12,430 for a 14-day rental (around ¥9,944 with a coupon), while budget operators like Ninja WiFi advertise from ¥440/day on long rentals. Add the bits that don’t show on the homepage: optional damage insurance (¥100–¥300/day), a power-bank add-on if it isn’t included, and sometimes a delivery or pickup fee. Read the checkout total, not the banner.
Why one router beats four eSIMs for a family
The math is what sells it. At roughly ¥1,000/day for the router, the per-person cost falls fast:
| Travelers sharing | Router cost/day | Cost per person/day |
|---|---|---|
| 1 person | ¥1,000 | ¥1,000 (about US$6.65) |
| 2 people | ¥1,000 | ¥500 (about US$3.35) |
| 4 people | ¥1,000 | ¥250 (about US$1.65) |
A family of four buying four individual eSIMs at, say, ¥2,480 each for the week spends close to ¥9,920. One shared pocket WiFi for the same week runs about ¥7,000–¥9,000 — comparable or cheaper, and you manage one device and one password instead of four separate configurations. Most routers handle 5 to 15 devices and run 18–20 hours on a charge, so phones, tablets and a Nintendo Switch all stay online through a full sightseeing day.
Two honest caveats. First, the router only works where the router is — if half your group peels off to a different district, they’re offline unless you rent a second one or hand them a cheap backup eSIM. Second, someone has to remember to carry it and keep it charged; leave it in the hotel and the whole group is stranded.
Picking it up and returning it
Reserve before you fly, especially in peak windows — cherry blossom season, Golden Week (late April to early May), summer holidays and New Year all sell out airport stock. You then choose: airport counter pickup (connected the moment you clear customs, but confirm the counter’s hours match your arrival time), hotel delivery (waiting at check-in; best for late landings), or home delivery before departure. Returns are refreshingly simple with most providers: drop the prepaid envelope in any red Japan Post letterbox — including at the airport — before you clear security on departure day. Post it before security, not after.
Networks and coverage: Docomo, SoftBank and au
Whatever you buy, it ultimately runs on one of Japan’s three carrier networks, and your SIM, eSIM or router just rides on top of one of them:
- NTT Docomo: the largest footprint and generally the best in rural and mountain areas — the one I’d want for a Mount Fuji or Nikko day trip. Saily, Ubigi and Sakura Mobile use Docomo.
- SoftBank: strong in cities and competitive on 5G. Mobal and many airport rental desks use SoftBank.
- au (KDDI): excellent urban and 5G coverage. Airalo roams onto au (and SoftBank).
For pure Tokyo sightseeing all three are effectively indistinguishable — you’ll have fast, reliable data across the whole city. The differences only show up off the beaten path, where Docomo’s wider reach pulls ahead. Note that many “unlimited” plans are bound by Japan’s Fair Usage Policy: speeds can be throttled after roughly 2–5GB in a single day, so “unlimited” rarely means truly limitless.
Can you keep your phone number?
Yes — and this is where eSIMs shine. Because an eSIM adds a second line, your home SIM (or home eSIM) stays put. You keep receiving calls and texts on your usual number — important for two-factor authentication codes from your bank or airline — while your Japan data line does the heavy lifting. Just keep your home line set to data off so it doesn’t quietly roam at home-carrier rates, and make calls over WhatsApp, LINE or FaceTime.
A physical tourist SIM is the opposite: you have to remove your home SIM to insert it, so unless your phone has dual SIM slots you temporarily lose access to your home number. And most tourist data SIMs don’t give you a Japanese number at all. If you genuinely need a local number — for a restaurant reservation line, a host’s callback, or a longer stay — Mobal’s voice-and-data plan provides a real Japanese number, though it must be applied for in advance and is mailed or collected rather than emailed, due to Japanese registration rules.
The free WiFi reality: useful backup, terrible primary plan
Japan does have free WiFi — but it’s hotspot-based, not the ambient citywide coverage some visitors expect. You’ll find it at airports, hotels, major stations, chain cafes and tourist information centers. The problem is timing: it’s reliably available exactly where you don’t urgently need it (sitting in your hotel) and gone the moment you do (lost on a side street with a four-minute window before your route disappears).
A few 2026 facts worth knowing so you don’t rely on outdated advice:
- 7-Eleven (7SPOT) and FamilyMart discontinued their free WiFi in 2022. Lawson is the only major convenience-store chain still offering it. Any guide telling you to grab konbini WiFi at 7-Eleven is out of date.
- Most hotspots require a registration page — email or social login, sometimes a confirmation link you can’t open without another connection — and sessions often time out after 30–60 minutes, forcing you to re-register.
- The best free option is the Japan Wi-Fi auto-connect app (by NTT Broadband Platform, 16 languages). Download and register it before you leave home, because setup needs a connection.
- Public WiFi here is frequently unencrypted — fine for maps and messaging, not for banking, card entry, or logging into your airline account.
My take after many trips: treat free WiFi as a bonus at the hotel and airport, and carry your own data for everything in between. The moment you’re moving — which in Tokyo is most of the day — free WiFi stops being a plan. Pair whatever you choose with a downloaded offline map and your hotel address screenshotted in Japanese, and your first day gets dramatically smoother. New to the city? Our first-time Tokyo tips bundle this with the other things first-timers wish they’d sorted before landing.
So which should you actually choose?
- Solo traveler with a newer, unlocked phone: an eSIM. Cheapest, lightest, nothing to collect or return. Order Saily, Airalo or Ubigi before you fly.
- Couple: usually two eSIMs, or one pocket WiFi if you share devices heavily or one phone is locked — the cost is close, so let convenience decide.
- Family or group of three-plus: one pocket WiFi. Cheaper per head, one password, covers tablets and laptops.
- Older phone with no eSIM, or a carrier-locked phone: a physical SIM (if unlocked) or pocket WiFi (works regardless of lock status).
- Heavy data user / remote worker: a high-data eSIM or a truly-unlimited pocket WiFi so a Fair-Usage throttle doesn’t kill your afternoon.
- Heading into rural Japan or the mountains: favor anything on the Docomo network, or a pocket WiFi, for the widest coverage.
Whatever you land on, sort it before you arrive. Buying connectivity in advance — an eSIM installed and ready, or a pocket WiFi reserved for airport pickup — means you walk out of Narita or Haneda already online, which is worth more on your first jetlagged day than the few dollars you might save winging it at a counter.
Frequently Asked Questions
Do I need a SIM card for Tokyo, or is free WiFi enough?
For all but the most minimal trips, you need your own data. Free WiFi in Tokyo is hotspot-based — good at hotels, airports and chain cafes, absent on the street and on trains. Maps, live navigation and Google Translate’s camera all need a connection at the exact moments free WiFi isn’t there. A cheap eSIM or pocket WiFi removes that friction; relying only on free WiFi means accepting regular offline gaps.
Is an eSIM better than a physical SIM card for Japan?
For most travelers with a phone from 2019 or later, yes. An eSIM installs before you fly, activates on landing, keeps your home number on a second line, and there’s no card to swap or lose. A physical SIM still makes sense for older or carrier-locked phones, or if you want a tangible card and a counter to ask questions at — but airport SIMs typically cost about double an equivalent online eSIM.
How much data do I need for a week in Tokyo?
Budget roughly 500MB to 1GB per day — about 5–10GB for a week — for normal sightseeing: maps, messaging, translation and light social media. Heavy users who stream, tether or post video should aim higher or pick a plan with cheap top-ups. Downloading an offline Google Map of Tokyo before you go cuts your map data use significantly.
Can I buy a SIM card at Narita or Haneda airport?
Yes. At Narita, Air Bic Camera (Terminal 2, 4F) has the widest selection, plus JR East Travel Centers, a SoftBank counter, and 24/7 vending machines. At Haneda, try Bic Camera (Terminal 3), Mobile Center Haneda, the SoftBank counter, and 24/7 vending machines and 7-Eleven in Terminal 3. Airport prices run higher than city stores or online, and staffed counters keep limited hours.
Is pocket WiFi or eSIM cheaper for a family?
For three or more people, pocket WiFi is usually cheaper. One router at about ¥1,000/day split four ways is roughly ¥250 per person per day, versus a separate eSIM for each phone. It also covers tablets and laptops on one password. Solo travelers and many couples still come out ahead with individual eSIMs.
Photo Credits
- Narita Airport arrivals — your first chance to grab a SIM or pocket WiFi — Photo: Wpcpey / CC BY-SA 4.0 via Wikimedia Commons
- Bic Camera stocks tourist SIM cards at branches across Tokyo — Photo: moof from Tokyo, Japan / CC BY 2.0 via Wikimedia Commons
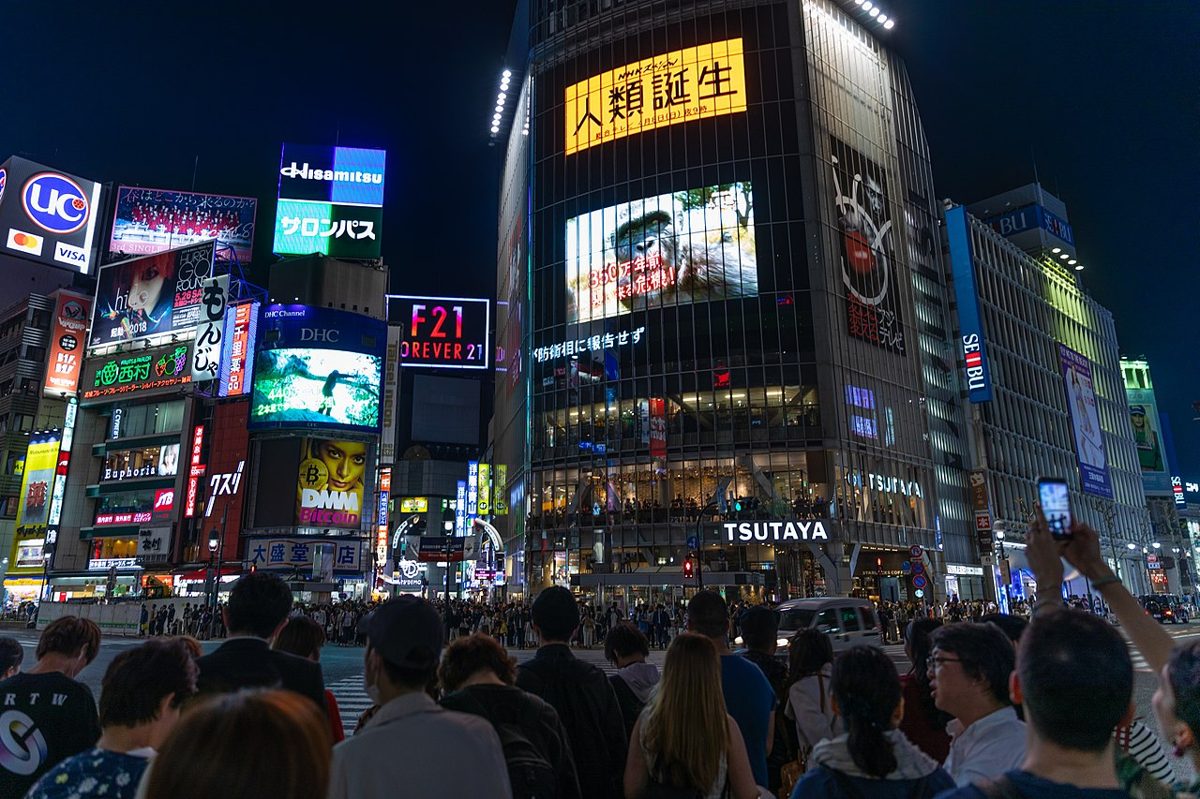
- Reliable data turns Tokyo’s maze of streets into something navigable — Photo: Espen Faugstad from Oslo, Norway / CC BY 2.0 via Wikimedia Commons
- Yodobashi Camera in Akihabara — another reliable spot for prepaid SIMs — Photo: Matthide127 / CC0 via Wikimedia Commons
- On the train, your own data keeps working where station WiFi cuts out — Photo: George N / CC BY 2.0 via Wikimedia Commons
- A physical nano-SIM — still an option, though eSIMs are taking over — Photo: Tomasz Sienicki [user: tsca, mail: tomasz.sienicki at gmail.com] / CC BY 2.5 pl via Wikimedia Commons